
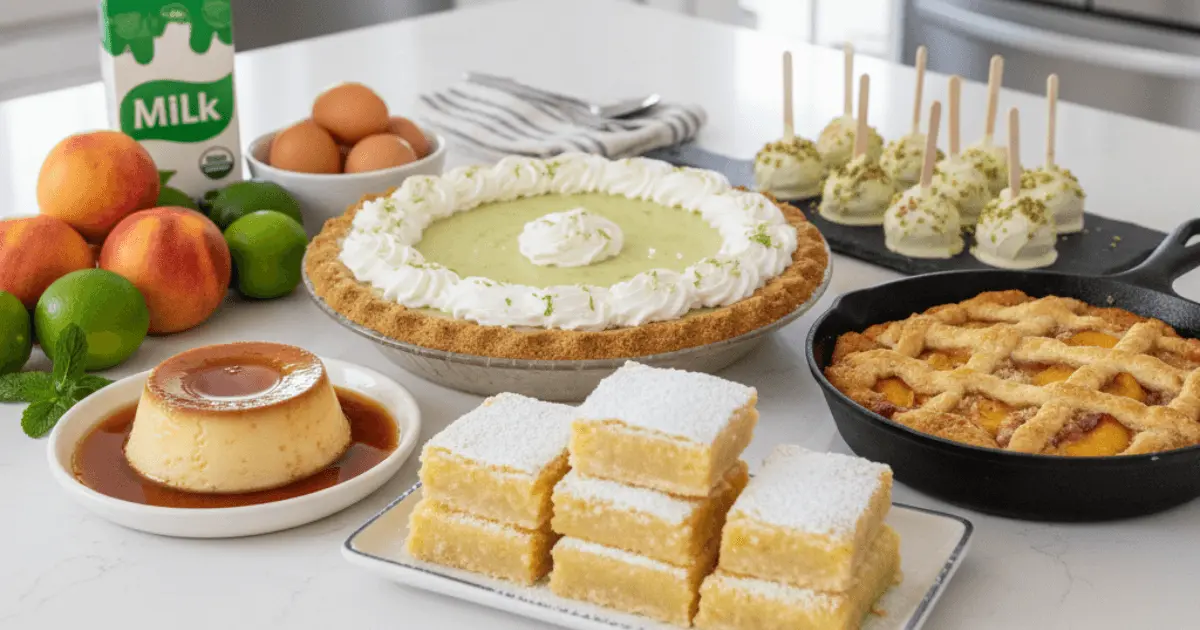
Easy desserts you can make at home—better than store-bought. Quick, tasty, and fresh with simple ingredients every time.
You know those moments when you’re standing in the grocery aisle, eyeing those sad, plastic-wrapped desserts, thinking, “Ugh, fine. I think this will suffice.” Well, stop right there! Ditching store-bought sweets is the best decision you can make.
Seriously, making your own easy desserts at home is the ultimate secret weapon. We’re talking about viral, no-bake desserts that take 15 minutes but taste like you spent all day slaving away. They’re just better—fresher, tastier, and free of artificial ingredients.
Table of Contents
Here’s the lowdown on why you should step away from the freezer aisle:
You’re the boss of ingredients: real butter, real eggs, real magic.
They’re fast! Time-saving dessert recipes are totally a thing—think 3-ingredient desserts and quick hacks.
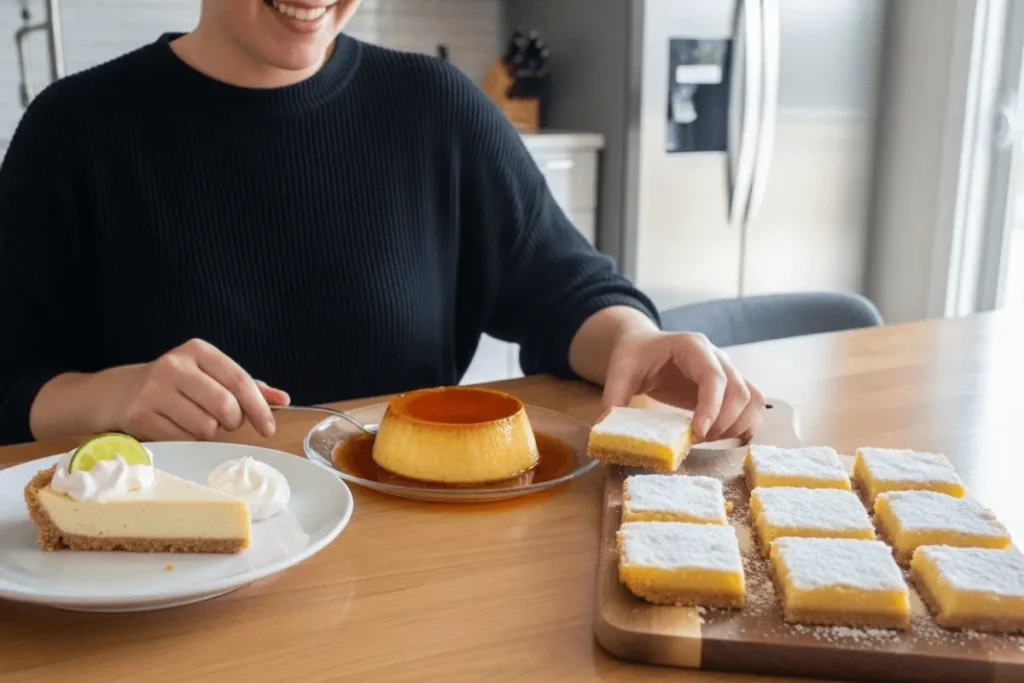
Hello, fun time: it’s a perfect, easy activity for the family (or just you and a good podcast).
These homemade treats are so simple you’ll wonder why you ever bought a slice of that overly sweet, slightly fake-tasting stuff before!
Effortless Excellence: 10 Easy Desserts That Totally Kick Store-Bought Butt
Okay, here are my top 10 picks. These aren’t just recipes; they’re guaranteed crowd-pleasers that require minimal effort.
1. Key Lime Pie (Or Just Make the Bars—Much Easier)
If you’ve ever had store-bought key lime pie, you know it’s usually green and chemical. Eww. The secret to a phenomenal homemade key lime pie recipe is fresh lime juice. It’s the difference between “meh” and “OMG, where did you buy this?” To make the filling, you only need three components: lime juice, egg yolks, and condensed milk, placed on a straightforward graham cracker crust. It’s truly an easy dessert recipe for beginners.
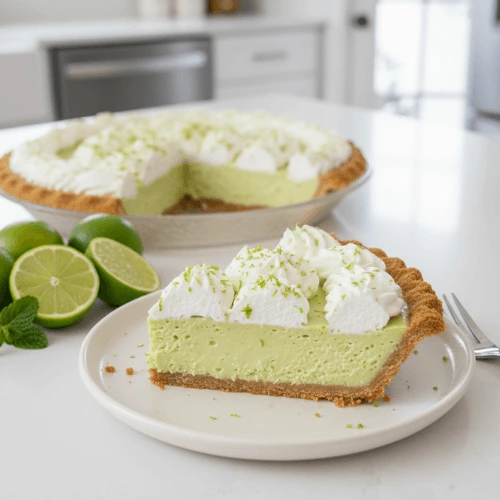
Key Lime Pie Bars
Equipment
- 9×9 inch pan
- Mixing bowls
- Zester and whisk
- Food Processor or a plastic bag and rolling pin for the crust
Ingredients
Crust
- 1 ½ cups graham cracker crumbs
- ⅓ cup sugar
- 6 tbsp melted butter
Filling
- 2 cans sweetened condensed milk 14 oz each
- ¾ cup key lime juice fresh is best
- 2 tsp key lime zest
- 3 large egg yolks
Instructions
- Preheat the oven to 350°F (175°C).
- Mix the crust ingredients, press into your pan, and bake for 12–15 minutes until fragrant. Your kitchen will smell amazing.
- Whisk the filling ingredients together until silky smooth.
- Pour the filling over the warm crust.
- Bake for 15–18 minutes until set.
- Ensure it has cooled entirely before refrigerating for at least four hours. Slice and serve.
Notes
Nutrition (per serving)
Calories: ~320kcal, Fat: 12g, Carbs: 48g, Protein: 6g2. No-Bake Cheesecake Pops and Truffles
Listen up —this is my favorite hack: the no-cook cheesecake recipe! We’re not messing with water baths or cracking crusts. We’re going straight for the viral, delicious Oreo truffles. Crush a bunch of Oreos, mix them with softened cream cheese, roll into balls, and dip in melted chocolate. Done! They’re the definition of an easy dessert that looks fancy.
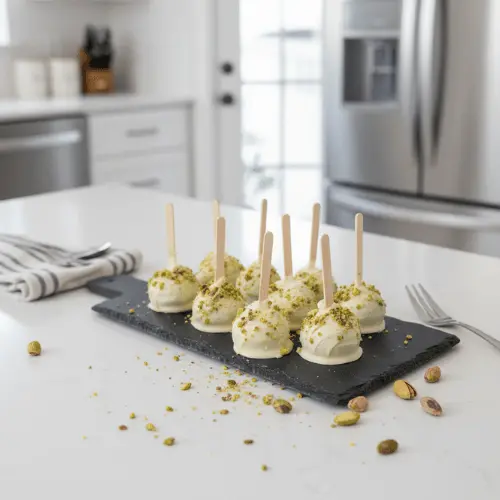
No-Bake Cheesecake Pops & Truffles
Equipment
- Mixing bowls and an electric mixer
- Baking sheet and parchment paper
- Lollipop sticks optional
- Microwave or double boiler for melting chocolate
Ingredients
- 8 oz cream cheese, softened
- ¼ cup sugar
- 1 cup graham cracker crumbs
- 2 Tbsp melted butter
- 1 tsp vanilla extract
- 8 oz melting chocolate or chocolate chips
- Sprinkles, nuts, or coconut for topping
Instructions
- Blend the cream cheese, sugar, and vanilla together until the mixture is smooth.
- Stir in the graham cracker crumbs and melted butter.
- Chill for 1–2 hours until firm.
- Roll the mixture into 1-inch balls, place on parchment paper, and add sticks if using. Freeze for 30 minutes.
- Melt the chocolate, coat each ball, and decorate while the chocolate is still wet.
- Let them sit on parchment paper.
Notes
Nutrition (per truffle)
Calories: ~150kcal, Fat: 10g, Carbs: 14g, Protein: 2g3. The Ultimate Bread Pudding (Pure Comfort Food)
Store-bought bread pudding is generally a crime. Homemade bread pudding is a hug in a bowl. It’s a wonderful way to use up slightly stale bread. Pour a rich custard base (hello, cream and eggs!) over the top, add a touch of dark chocolate, and bake until warm and custardy. It’s pure, easy comfort food.
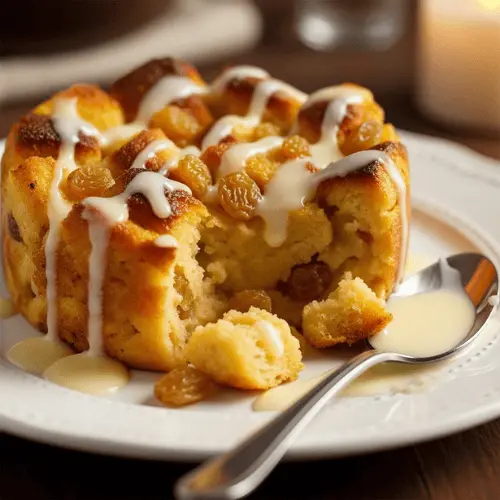
Vanilla Cinnamon Bread Pudding
Equipment
- 9×13 inch pan
- Mixing bowls and a whisk
Ingredients
- 6 cups day-old bread brioche, challah, or French bread cut into cubes
- 4 eggs
- 2 cups milk or half-and-half
- ¾ cup sugar
- 2 Tbsp melted butter
- 2 tsp vanilla extract
- 1 tsp cinnamon
- ¼ tsp nutmeg
- ½ cup raisins optional
Instructions
- Toss the bread cubes in a greased baking dish.
- Whisk the eggs, milk, sugar, melted butter, vanilla, cinnamon, and nutmeg together.
- Pour the mixture over the bread, press down gently, and let it soak for 30 minutes.
- Bake at 350°F (175°C) for 50–60 minutes until puffed and golden.
Notes
4. Flaky Meringue for Lemon Pie
Making your own fluffy, delicate meringue for lemon pie is a total game-changer. That perfect, cloud-like texture and those toasted peaks are something you can’t get from a box. It’s a little extra step, but homemade meringue makes your lemon pie go from “good” to “gourmet.”
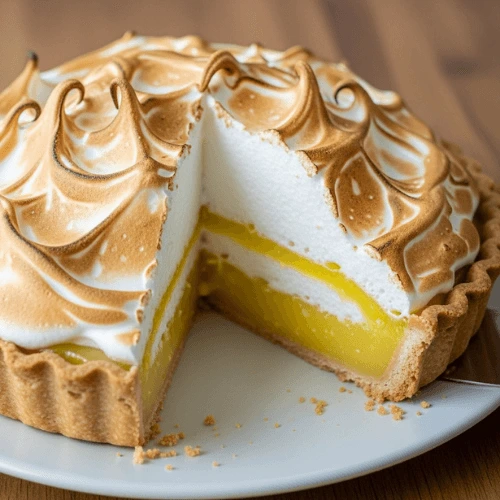
Swiss Meringue
Equipment
- Stand Mixer or Hand Mixer
- heatproof bowl (if using double boiler
- saucepan or double boiler
- instant-read thermometer recommended
Ingredients
- 4 egg whites
- ½ cup sugar
- ¼ tsp cream of tartar
- ½ tsp vanilla extract
Instructions
- Combine the egg whites, sugar, and cream of tartar in a heatproof bowl.
- Place the bowl over simmering water (making sure it doesn't touch the water) and whisk until the sugar dissolves and the mixture reaches 160°F.
- Beat on high speed until stiff, glossy peaks form and the mixture cools to the touch.
- Beat in the vanilla extract.
- Spread the meringue over a warm pie, seal the edges, and make peaks.
- Bake 20 minutes until golden.
Notes
5. Homemade Flan: Silky and Simple
If you’re into that silky, caramel-drenched texture, learning to make flan at home is so worth it. It’s just milk, eggs, and sugar, but the key is getting the caramel layer just right—not burnt, but beautifully melted. Homemade flan is richer and smoother than any store-bought version.
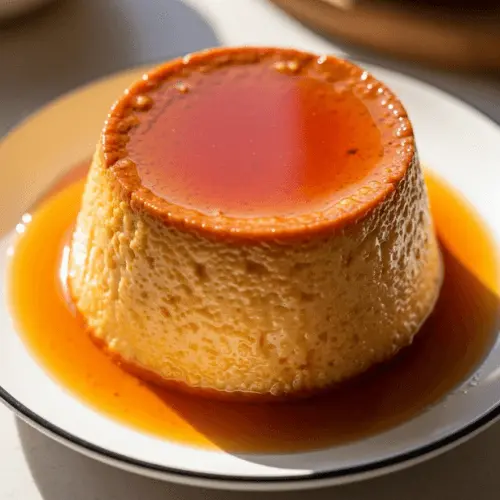
Silky Caramel Flan
Equipment
- 9-inch round cake pan flan mold
- Roasting Pan for water bath
- fine-mesh sieve
- Small saucepan
Ingredients
Carame
- 1 cup sugar
- ¼ cup water
Custard
- 4 eggs
- 1 can sweetened condensed milk 14 oz
- 1 can evaporated milk 12 oz
- 1 tsp vanilla extract
- ¼ tsp salt
Instructions
- Preheat the oven to 350°F (175°C).
- Melt the sugar and water together until amber, then pour into the pan.
- Blend the custard ingredients and strain into the caramel-lined pan.
- Place the pan in a roasting pan and add hot water halfway up the sides.
- Bake for 60–75 minutes until set but still slightly jiggly.
- Cool, then chill for at least 8 hours before inverting to serve.
Notes
Nutrition (per serving)
Calories: ~290kcal, Fat: 10g, Carbs: 41g, Protein: 9g6. Rustic Cobblers: Apple, Peach, and Blueberry Quick Fixes
Cobblers are the champions of easy desserts. Whether using fresh blueberries (making a great blueberry cobbler), canned peaches (hello, super-fast canned peach cobbler), or even a jar of applesauce (time for applesauce cobbler!), the concept is simple. A quick biscuit-style topping beats the plastic-y crusts on store-bought pies.
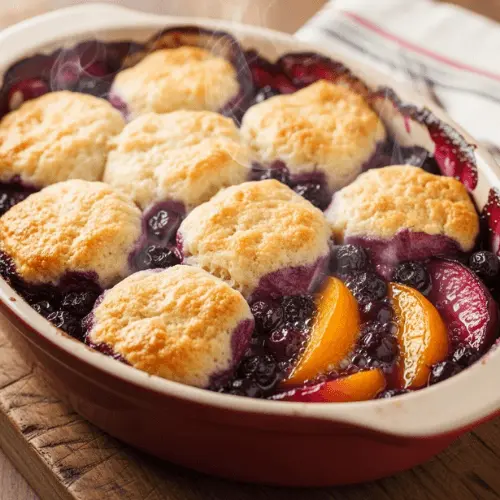
Fruit Cobbler
Equipment
- 9×13-inch baking dish
- Mixing bowls
Ingredients
- ½ cup butter
- 1 cup flour
- 1 cup sugar
- 1 ½ tsp baking powder
- ¼ tsp salt
- ¾ cup milk
- 4 cups fruit apples, peaches, berries
- 1 Tbsp lemon juice
- 1 tsp cinnamon if using apple
Instructions
- Preheat oven to 350°F. Melt the butter in the baking pan.
- Stir together the flour, sugar, baking powder, salt, and milk to create the batter.
- Toss the fruit with sugar, lemon juice, and cinnamon if using.
- Carefully add the batter over the melted butter, ensuring not to mix.. Add the fruit on top—do not stir.
- Bake for 45–55 minutes until golden and bubbly.
Notes
Nutrition (per serving)
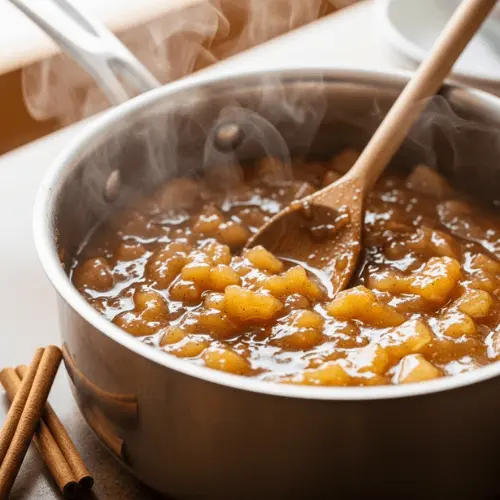
Calories: ~320kcal, Fat: 12g, Carbs: 53g, Protein: 3g7. Easy Apple Pie Filling Recipes (Beyond the Can)
Why buy canned filling when making apple pie filling from scratch is super quick? Dice some apples, throw them in a pot with sugar, spices, and a pat of butter, and cook until soft. Use it for anything—apple bars, oatmeal topping, or just eat warm with whipped cream.
Apple Pie Filling
Equipment
- Large saucepan or Dutch oven
- Whisk
Ingredients
- 6-7 cups peeled, sliced tart apples
- ½ cup brown sugar
- ¼ cup sugar
- 2 Tbsp cornstarch
- 1 tsp cinnamon
- ¼ tsp nutmeg
- ¼ tsp salt
- 1 ½ cups water or apple juice
- 1 Tbsp lemon juice
- 2 Tbsp butter
Instructions
- Mix sugars, cornstarch, spices, salt, and water.
- Boil for 2 minutes until thickened.
- Add butter, lemon juice, and apples. Simmer for 8–10 minutes until tender-crisp.
- Cool before filling your pie.
Notes
Nutrition (per 1/2 cup)
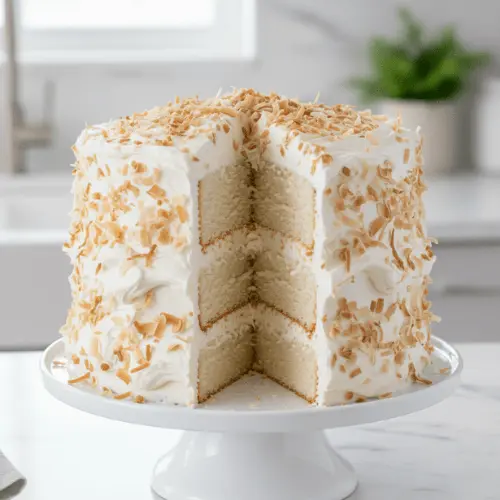
Calories: ~120kcal, Fat: 2g, Carbs: 27g, Protein: 0g8. The Tenderest Coconut Cake
Forget everything you know about dry, cardboard-like cakes. A simple, old-fashioned coconut sheet cake made with real ingredients is moist, tender, and bursting with flavor. It’s proof that simple techniques and real vanilla extract create the most memorable desserts.
Moist Coconut Cake
Equipment
- 2 9-inch round cake pans
- Stand Mixer or Hand Mixer
- Parchment paper
- sifter
Ingredients
- 2 ¼ cups cake flour
- 1 ½ cups sugar
- 1 Tbsp baking powder
- ¾ tsp salt
- ¾ cup cold butter
- 4 egg whites
- 1 cup coconut milk
- ½ cup sour cream
- 1 tsp vanilla extract
- 1 cup shredded coconut
Instructions
- Preheat the oven to 350°F. Grease the pans.
- Stir the dry ingredients into the butter until the mixture looks like sand.
- Mix the wet ingredients, then fold them into the dry mixture. Add the shredded coconut.
- Bake for 30–35 minutes. Brush the warm cake with coconut milk.
Notes
Nutrition (per serving)
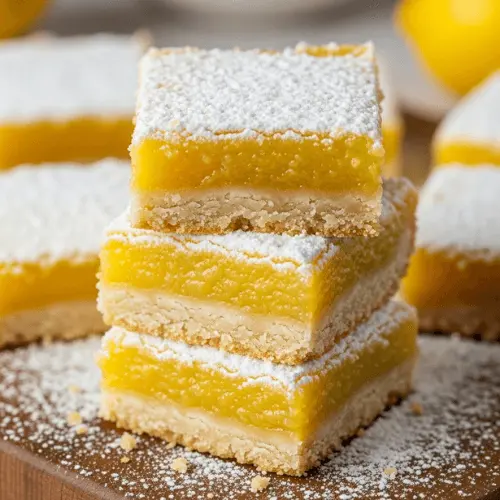
Calories: ~380kcal, Fat: 19g, Carbs: 50g, Protein: 4g9. Quick, Intense Lemon Bars with Shortbread Crust
These are a breeze. They use five basic pantry ingredients (plus a little vanilla and salt) and deliver an intensely tart, lemony curd on a buttery shortbread crust. No weird stabilizers or artificial flavors—just pure, tangy goodness.
Lemon Bars
Equipment
- 9×9 inch baking pan
- Parchment paper
- Mixing bowls
- Whisk
- zester
Ingredients
Crust:
- 1 cup flour
- ¼ cup sugar
- ¼ tsp salt
- ½ cup butter
Filling:
- 4 eggs
- 1 ½ cups sugar
- ½ cup lemon juice
- 1 Tbsp zest
- ¼ cup flour
- ½ tsp baking powder optional
- Powdered sugar for dusting
Instructions
- Preheat oven to 350°F. Line the pan with parchment paper.
- Pulse the crust ingredients, press into the pan, and bake for 18–20 minutes.
- Combine the filling components and spread over the heated crust.
- Bake for 25–30 minutes, then cool and chill for 2 hours. Dust with powdered sugar and slice.
Notes
Nutrition (per bar)
Calories: ~200kcal, Fat: 8g, Carbs: 31g, Protein: 3g10. The Easy, Moist Yellow Cake You Can Mix by Hand
No stand mixer needed to make an incredible cake. This recipe proves that classic yellow cake can be mixed entirely by hand in a simple bowl. It’s super moist, super flavorful, and definitely beats anything from a pre-mix box. The ultimate easy dessert for a crowd.
Yellow Cake
Equipment
- 9×9 inch square baking pan
- Whisk
- Mixing bowls
- sifter
Ingredients
- 1 ½ cups flour
- 1 cup sugar
- 1 ½ tsp baking powder
- ½ tsp salt
- ⅔ cup milk
- 2 eggs
- 1 ½ tsp vanilla extract
- ⅓ cup oil
Instructions
- Preheat oven to 350°F. Grease the pan.
- Mix the dry ingredients, then whisk the wet ingredients.
- Combine gently. Do not overmix!
- Bake for 30–35 minutes, then cool for 15 minutes before transferring to a wire rack.
Notes
Nutrition (per serving)
Calories: ~270kcal, Fat: 10g, Carbs: 42g, Protein: 4gMaximizing Flavor: Simple Tips for Dessert Success
Want pro results without pro effort? Here are a few essential tips I swear by:
Key Techniques for Homemade Results:
- The Fat Balance: For cakes, try butter plus a little oil. Butter gives flavor; oil keeps things crazy moist. A genius time-saving hack.
- Temperature Matters: For anything with cream cheese (like cheesecake truffles), always let it come to room temperature. It prevents lumps and gives a smooth texture.
- Chill Out: Even quick recipes benefit from chilling cheesecake balls or dough in the fridge for 10 minutes. It improves texture and makes handling easier.
FAQ
What makes a recipe qualify as an Easy Dessert?
Basically, if it requires minimal ingredients (two or three!), minimal prep time (under 30 minutes), and no culinary degree, it counts! Designed to save time and money.
Can Easy Desserts be made ahead for parties?
Totally! Easy make-ahead desserts are party planners’ best friends. Most no-bake desserts like cheesecake pops or mousse store well in the fridge for days and are easy to transport.
Do I need special tools for these recipes?
Nope! That’s the beauty. Most recipes rely on basic tools you already have—a mixing bowl, whisk, and maybe a hand mixer if ambitious. No fancy gadgets required.
The Sweet Finale
Honestly, picking these Easy Desserts is a game-changer. You’re deciding to eat a bit cleaner, sure, but you’re also taking control. Want less sugar? No problem. Swap it for some honey or maple syrup. It’s that easy.
And the best part? What you get from your own kitchen blows the store-bought stuff out of the water. We’re talking about fresh, customizable flavors that just feel more satisfying. You’ll get a boost of confidence from baking something yourself, and let’s be real—those moments you create with family or friends? That’s the secret ingredient you can’t buy.
So just start with one Easy recipe. Grab some good ingredients and give it a go. You might just surprise yourself with how much better your own quick treats can be.