

So… thinking about trying raw kefir? Nice! Honestly, it’s one of the best gut-loving things you can do for yourself. But before you dive in and start fermenting like a pro, let me save you from a few “oops” moments I wish someone had warned me about.
Raw kefir is the real deal—not just another “healthy” trend that’ll disappear by next year. It’s been around for ages and comes with some serious superpowers for your digestion and overall health. But here’s the thing: it’s surprisingly easy to mess up if you’re new to it.
Let’s go through the seven most common slip-ups people make when brewing raw kefir at home—so you can skip the stress and jump straight into making creamy, probiotic magic.
Table of Contents
Understanding the Basics: The Magic of Raw Kefir
Okay, let’s get real for a second. Raw kefir isn’t just some sad, shelf-stable probiotic drink you grab at the store. Nope—this stuff is alive. Like, teeming-with-good-bacteria, microscopic-party-in-a-jar alive.
We’re talking raw, unpasteurized milk here (the kind that hasn’t been zapped of all its goodness). Over 36–48 hours, those magical little kefir grains work their fermentation voodoo, turning it into a tangy, creamy elixir that’s basically a hug for your gut. The pH lands around 3.8 (sciencey, but trust me—it’s the sweet spot for good bugs to flourish).
Here’s the kicker: it’s not just about digestion. A happy gut can mean brighter moods, sharper focus, and energy that doesn’t crash by 3 p.m. Think of raw kefir as a system reboot—for your entire well-being.
Why Raw Is So Much Better Than Store-Bought
Let’s have a real talk about kefir. Do you recognize the items you purchase from the dairy aisle at the supermarket? That’s like the elevator music version of what kefir should be.
Raw, homemade kefir? That’s the full concert experience.
Here’s why it’s a total game-changer:
- It’s alive: We’re talking trillions of probiotic rockstars throwing the ultimate gut party.
- No fake stuff: Unlike pasteurized versions, nothing gets killed off and then half-heartedly replaced.
- Nature’s multivitamin: Packed with B12, K2, and other nutrients your body actually recognizes.
- Self-sweetening magic: Fermentation creates this perfect tangy-sweet flavor—no sugar needed.
The store stuff isn’t bad… it’s just like comparing a fresh farmers’ market peach to canned fruit cocktail. Both are technically fruit, but only one makes your taste buds do backflips.
Once you go raw, you’ll notice the difference in how you feel. Your gut knows what’s up.
The 7 Mistakes That’ll Make You Want to Cry Into Your Glass
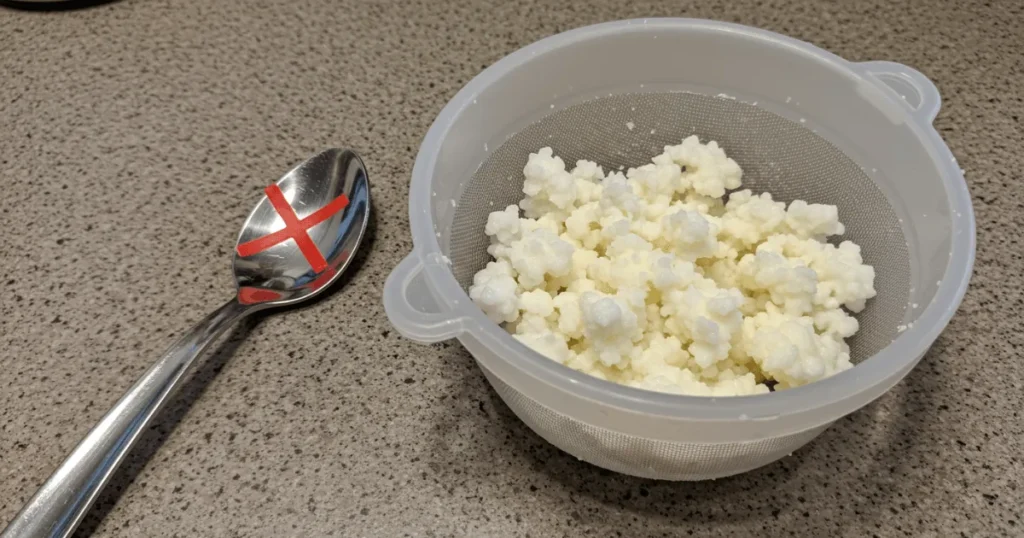
1. Using Metal Tools (Oof, Rookie Move)
Trust me, I did this too. Grabbed a metal strainer and thought, “What could go wrong?” Turns out, metal and kefir grains are mortal enemies. The acidity can mess with the grains and slow them down or even ruin them.
Fix it: Stick with plastic, glass, or wood. A plastic strainer and wooden spoon are your best friends here. Your kefir will thank you.
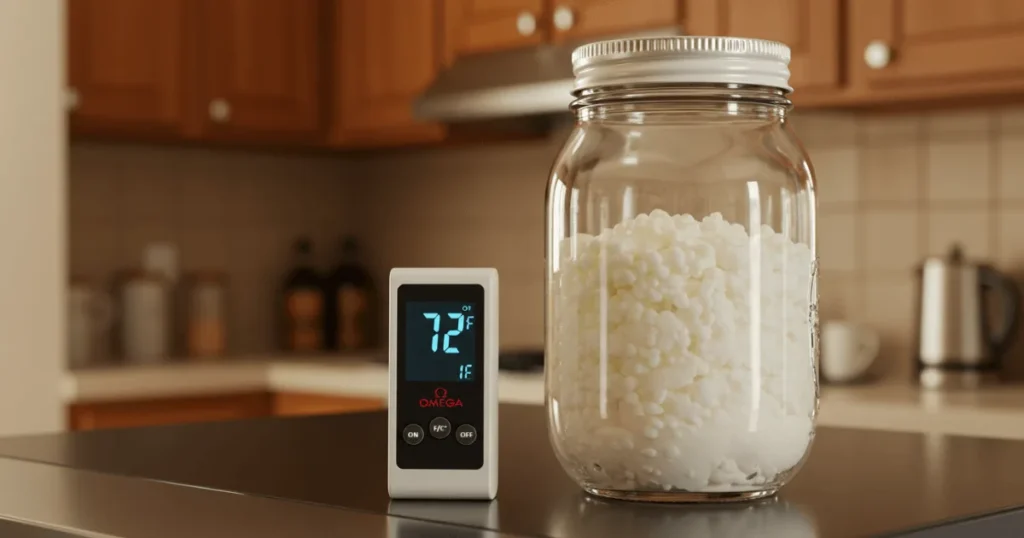
2. Ignoring the Temperature (Sneaky but Crucial)
Kefir grains are a bit picky. Too hot? They go wild and your kefir gets super sour. Too cold? They nap, and you get a kefir that’s thin and lacking strength.
Fix it: Keep your kefir at 68–75°F (20–24°C). If it’s chilly where you live, try putting it on top of the fridge. Too warm? Move it to a cooler spot. Purchasing a mini thermometer for a few dollars is a good idea.
3. Guessing Your Fermentation Time (Bad Idea)
Fermenting kefir isn’t something you just set and forget. If you brew it too briefly, it will taste like milk.. Too long? You’ve got a science experiment with separation and sour vibes.
Fix it: Start with 24 hours and check it every 12 hours after that. You’re aiming for slightly thick, tangy, and pourable—kind of like drinkable yogurt. Trust your nose: it should smell fresh, not funky.
4. Neglecting Your Grains (They’re Not Disposable!)
Kefir grains are alive—treat them like your little kitchen pets. Ignore them, and they’ll start producing sad, lifeless kefir.
Fix it: Rinse them gently between batches with filtered water. Don’t scrub! If you need a break, store them in milk in the fridge for up to a week. Need a longer break? Freeze or dry them. Healthy grains should be off-white and cauliflower-like. If they go pink or orange—yikes, time for new ones.
5. Skipping the pH Check (Yeah, Science Is Actually Handy)
Don’t roll your eyes—pH matters. If it’s too high, you might be growing the wrong kind of bacteria (ew). Too low, and you’ve overdone it.
FIx it: Use pH strips or a basic digital pH meter. You should be aiming for a range of 3.5 to 4.5. It’s not rocket science—just enough acid to keep things clean and safe.
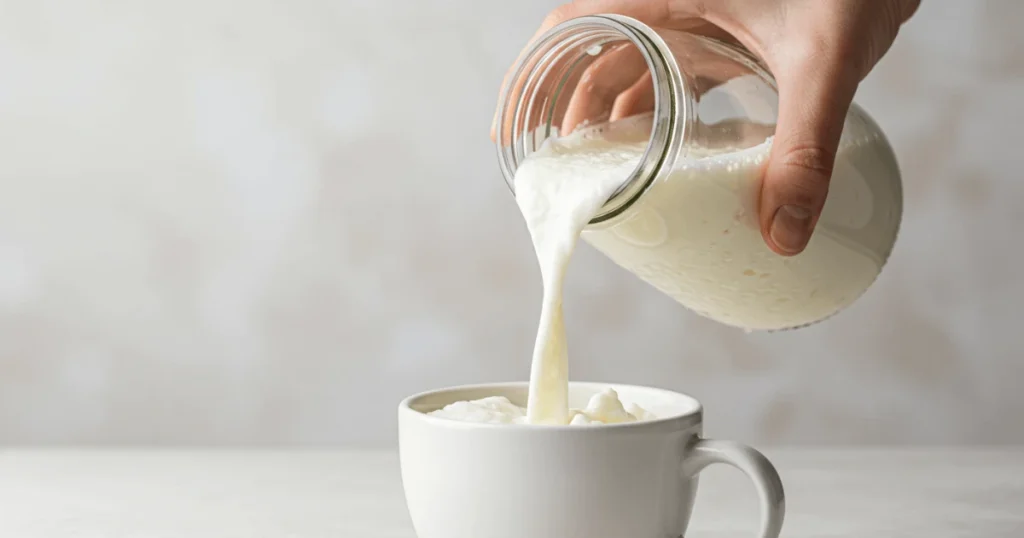
6. Stopping After One Ferment (Missed Opportunity)
A lot of folks strain it and call it a day. But a second fermentation? Total game-changer. Better flavor, smoother texture, and even less alcohol.
Fix it: After straining, pour it into a clean glass jar and pop it in the fridge for another 12–24 hours. You’ll love how mellow and creamy it gets.
7. Not Knowing When to Ditch a Batch
This one’s big. You need to know the difference between “kefir doing its thing” and “kefir gone bad.”
Fix it: Quality kefir should have a scent reminiscent of tangy yogurt or buttermilk. Bad kefir smells like something died. Throw it away if there’s any mold, a slick feel, or an intense alcohol scent. Separation is normal, but if it’s chunky and weird like cottage cheese, you’ve gone too far.
Starting Without Losing Your Mind
Relax—you’re not performing open-heart surgery here. Making kefir is easier than keeping that basil plant alive (and way more forgiving). Here’s the no-stress approach:
- Get decent milk (your kefir grains aren’t snobs, but they appreciate the good stuff).
- Basic hygiene (wash your hands, but no need to break out the hazmat suit).
- Find a happy spot—a countertop away from sunbeams works great.
Your first batch might taste… interesting. That’s cool. By batch three, you’ll be a pro. Can you remember when your coffee tasted like scorched sorrow? Same evolution.
The secret? Kefir’s been made for centuries by people way less stressed than you’re being right now. Breathe. It’s going to be delicious.
The Nerdy Stuff (But Honestly Kinda Cool)
Behind the scenes, there’s some fascinating science happening. The bacteria turn lactose into lactic acid (that signature tang), yeasts help balance the culture, and enzymes make digestion easier.
Basically, your kefir jar is like a tiny lab creating vitamins, breaking down proteins, and giving your gut all the love it needs.
Top Strategies to Fully Utilize It
- Take it in the morning before eating, allowing the probiotics to act more efficiently.
- Start slow! Maybe 1/4 cup a day at first. Your gut might throw a mini tantrum if you go too hard, too fast.
- Mix it up! Add it to smoothies, salad dressings, or just drink it plain. Once you’re hooked, you’ll find your own favorite way to enjoy it.
When Things Go a Bit Off…
No shame—even experienced fermenters mess up sometimes. Here’s how to troubleshoot:
- Slow ferment? Try a warmer spot or add more grains.
- Too sour? Shorten the fermentation time.
- Too thin? Let it go longer or check your grain health.
- Weird separation? Probably over-fermented—pull back next time.
The Final Scoop on Raw Kefir (Spoiler: It’s Awesome)
Look, I won’t lie—your first few batches might taste… interesting. But here’s the beautiful truth: one morning you’ll take a sip of your homemade kefir and suddenly realize store-bought versions taste like sad, probiotic-free water.
Here’s what’s coming your way:
- A gut that actually likes you in the mornings.
- That proud “I-made-this-myself” feeling (better than store credit).
- Bragging rights at brunch about your “living” probiotic drink.
Will you mess up? Probably. Will your kitchen smell weird sometimes? Almost definitely. But will your future self high-five you for sticking with it? Absolutely.
Your microbiome is basically waiting with a “Thank You” card. AThe only thing you have to do is get started.
Raw Kefir FAQs
Why’s raw kefir so special?
Think of it as a probiotic milkshake that:
- Throws a party for your gut bugs
- Packs vitamins like nature’s multivitamin
- Boosts your brain and immunity
- Tastes like tangy heaven
Store-bought can’t compete with this living, fresh magic. Your body will cheer with every sip!
How is raw kefir different from regular kefir?
Raw = unpasteurized milk + living cultures.
Regular = pasteurized milk + added bacteria.
Raw has more of the good stuff, better texture, and way more benefits.
Is raw kefir safe to drink?
Absolutely! As long as your milk source is clean and your tools are basic-level clean, you’re good. The acidity keeps bad bacteria away.
Does kefir have sugar?
No added sugar here! The natural sweetness comes from the fermentation process. Totally keto-friendly.
Any downsides?
Some people feel bloated or gassy at first—that’s just your gut adjusting. Start slow and give it time. If you have health issues, check with your doctor first.
Will kefir mess with my blood sugar?
Nope, especially if it’s homemade with no added sugar. It’s low-carb and may actually help with blood sugar balance.