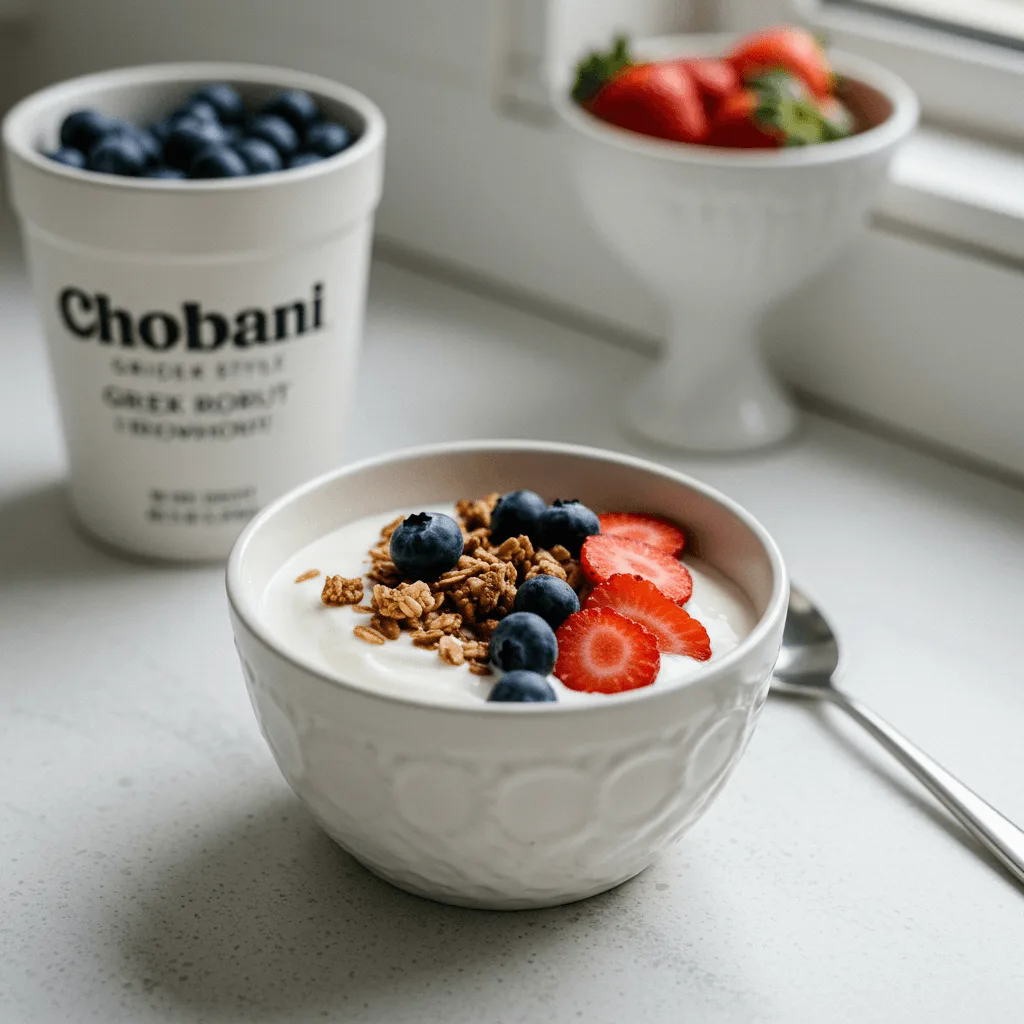
Chobani Greek Yogurt has become a household favorite, known for its thick, creamy texture, high protein content, and deliciously tangy taste. As one of the most popular yogurt brands, Chobani stands out for its simple ingredients, live probiotics, and commitment to natural flavors—making it a go-to choice for health-conscious consumers.
But what if you could recreate that same rich, velvety yogurt at home? Making your own Chobani-style Greek yogurt is easier than you think! Not only is it cost-effective, but it also allows you to control the ingredients, ensuring a fresh and additive-free product. Plus, homemade Greek yogurt is packed with probiotics, making it a nutritious addition to your daily routine.
In this guide, you’ll learn step-by-step how to make a Chobani Greek yogurt copycat from scratch. We’ll cover the essential ingredients, fermentation process, straining techniques, and even customization tips to match your favorite Chobani flavors. By the end, you’ll have a delicious, creamy, homemade Greek yogurt that rivals the original—if not better!
What Makes Chobani Greek Yogurt Special?
Chobani Greek Yogurt has gained a loyal following thanks to its rich texture, high protein content, and simple, natural ingredients. But what exactly sets it apart from other yogurts? Let’s break down the key factors that make Chobani so unique.
Chobani’s Signature Texture & Taste – How It Stands Out
One of the biggest reasons people love Chobani Greek Yogurt is its thick, creamy consistency. Unlike regular yogurt, Chobani is triple-strained, which removes excess whey and results in a denser, richer texture. This process also enhances the tangy, slightly sweet flavor that makes Chobani stand out.
The Probiotic Benefits of Greek Yogurt
Chobani is packed with live and active cultures, which are essential for gut health. The two key probiotic strains used in its fermentation process are:
- Lactobacillus bulgaricus – Helps break down lactose and contributes to Chobani’s signature tangy taste.
- Streptococcus thermophilus – Aids in digestion and supports a healthy gut microbiome.
These probiotics improve digestion, boost immunity, and promote overall gut health, making Greek yogurt an excellent addition to any diet.
Nutritional Value: High Protein, Low Sugar & Healthy Fats
Chobani Greek Yogurt is often chosen for its nutritional benefits, which make it a great snack or meal addition. Compared to regular yogurt, it offers:
- High protein – Nearly twice the protein of regular yogurt, ideal for muscle recovery and satiety.
- Low sugar – Unsweetened varieties contain little to no added sugar, making them a healthier option.
- Healthy fats – The full-fat version provides good fats that support brain function and energy levels.
- Low lactose – The straining process removes much of the lactose, making it easier to digest for those sensitive to dairy.
Ingredients Used in Chobani Greek Yogurt
Chobani prides itself on using only natural, non-GMO ingredients, with no artificial preservatives or sweeteners. A typical Chobani Greek Yogurt contains:
- Milk (whole, low-fat, or skim) – The base for a creamy, rich texture.
- Live active cultures – The probiotics that support gut health.
- Fruit, honey, or natural flavors (for flavored varieties).
Understanding these ingredients will help you recreate the perfect Chobani-style Greek yogurt at home! Ready to start making your own? Let’s dive into the essential ingredients and tools you’ll need. 😊

Essential Ingredients & Tools for Homemade Chobani Greek Yogurt
Before you start making your own Chobani-style Greek yogurt, it’s important to gather the right ingredients and tools. Using high-quality milk, a good starter culture, and the proper equipment will help you achieve that signature thick, creamy texture just like Chobani.
Best Milk to Use
The type of milk you choose has a big impact on the flavor and consistency of your homemade Greek yogurt. Here are your best options:
- Whole Milk – The best choice for a rich, creamy yogurt with a smooth texture.
- Organic Milk – Free from antibiotics and hormones, making it a healthier choice.
- Low-Fat or Skim Milk – Produces a lighter yogurt, but may require extra straining for thickness.
- Non-Dairy Alternatives – You can use coconut, almond, or cashew milk, but you’ll need a thickening agent like agar-agar or tapioca starch to replicate the texture of dairy-based Greek yogurt.
Yogurt Starter Culture
A yogurt starter is what transforms milk into thick, probiotic-rich Greek yogurt. You’ll need a source of live active cultures, which are essential for fermentation. Here are your options:
- Chobani Plain Greek Yogurt – Using 2 tablespoons of store-bought Chobani yogurt as a starter ensures you get the same probiotic strains.
- Commercial Yogurt Starter – A powdered starter culture with Lactobacillus bulgaricus and Streptococcus thermophilus for a reliable fermentation process.
- Homemade Yogurt – If you’ve already made yogurt before, you can use a few spoonfuls from your last batch to start a new one.
Straining for Thickness
The secret to Chobani-style Greek yogurt is straining. This removes excess whey, giving the yogurt its signature thick and creamy consistency. Here’s how:
- Use a cheesecloth or nut milk bag – Place the yogurt in a fine-mesh strainer lined with cheesecloth.
- Let it drain for 2-6 hours – The longer you strain, the thicker your yogurt will be.
- Refrigerate while straining – This helps the yogurt maintain its fresh taste.
- For extra-thick yogurt – Fold the cheesecloth over the yogurt and apply light pressure to remove more liquid.
Equipment Needed
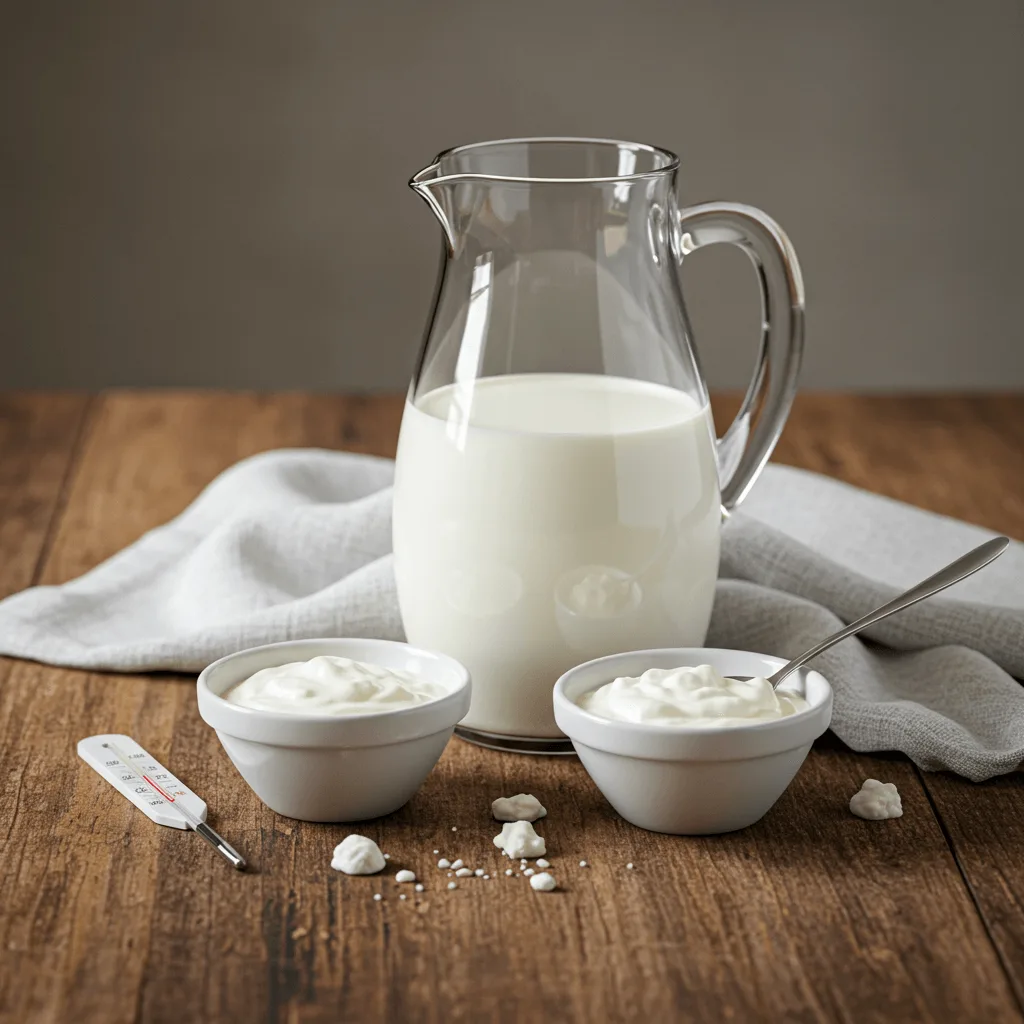
To make Greek yogurt at home, you don’t need fancy gadgets, but having the right tools makes the process easier:
- Yogurt Maker (Optional) – Helps maintain a consistent incubation temperature.
- Heavy-Bottomed Pot – For gently heating the milk without scorching it.
- Thermometer – Ensures the milk is at the right temperature (around 110°F or 43°C) for fermentation.
- Cheesecloth or Nut Milk Bag – For straining the yogurt to achieve a thick texture.
- Storage Jars – Glass containers with airtight lids help keep yogurt fresh in the fridge.
Now that you have your ingredients and tools ready, let’s move on to the step-by-step process of making Chobani Greek yogurt at home! 😊

Step-by-Step Guide to Making Chobani Greek Yogurt at Home
Now that you have your ingredients and tools ready, it’s time to make your own Chobani-style Greek yogurt! Follow these simple steps to achieve that thick, creamy, and probiotic-rich yogurt just like Chobani.
1. Heating the Milk – The Right Temperature for Perfect Fermentation
The first step in making Greek yogurt is to heat the milk to kill any unwanted bacteria and prepare it for fermentation.
- Pour your milk into a heavy-bottomed pot and heat it over medium-low heat, stirring occasionally.
- Bring it to 180°F (82°C) but do not let it boil. This helps break down the proteins and gives the yogurt a smoother texture.
- Once it reaches 180°F, remove it from heat and let it cool to 110°F (43°C). Cooling is essential because adding the starter to milk that’s too hot will kill the beneficial bacteria.
💡 Tip: Use a kitchen thermometer to check the temperature before moving to the next step!
2. Adding the Yogurt Starter – Using Chobani Plain Greek Yogurt as a Base
The key to achieving that signature Chobani taste and texture is using a high-quality yogurt starter. You can use Chobani Plain Greek Yogurt as a starter, as it contains live active cultures.
- Take 2 tablespoons of Chobani Greek Yogurt and mix it with a small amount of the cooled milk in a bowl.
- Once blended, pour the mixture back into the pot with the rest of the milk and stir gently to distribute the bacteria evenly.
💡 Tip: Use a whisk to mix the starter and milk smoothly to avoid lumps.
3. Fermentation Process – How Long to Let It Sit and at What Temperature
Fermentation is what transforms milk into thick, tangy Greek yogurt by allowing good bacteria to grow and develop flavor.
- Pour the milk mixture into a yogurt maker or an oven-safe dish.
- Maintain a temperature of 105-110°F (40-43°C) for 8-12 hours. The longer it ferments, the tangier it will become!
- If using an oven, turn on the light (not heat) to maintain warmth. You can also wrap the container in a towel for insulation.
💡 Tip: If you prefer milder yogurt, ferment for 8 hours. For a stronger tangy taste, let it ferment up to 12 hours.
4. Straining the Yogurt – Achieving That Thick, Creamy Texture
To get that Chobani-style thickness, you’ll need to strain the yogurt to remove excess whey.
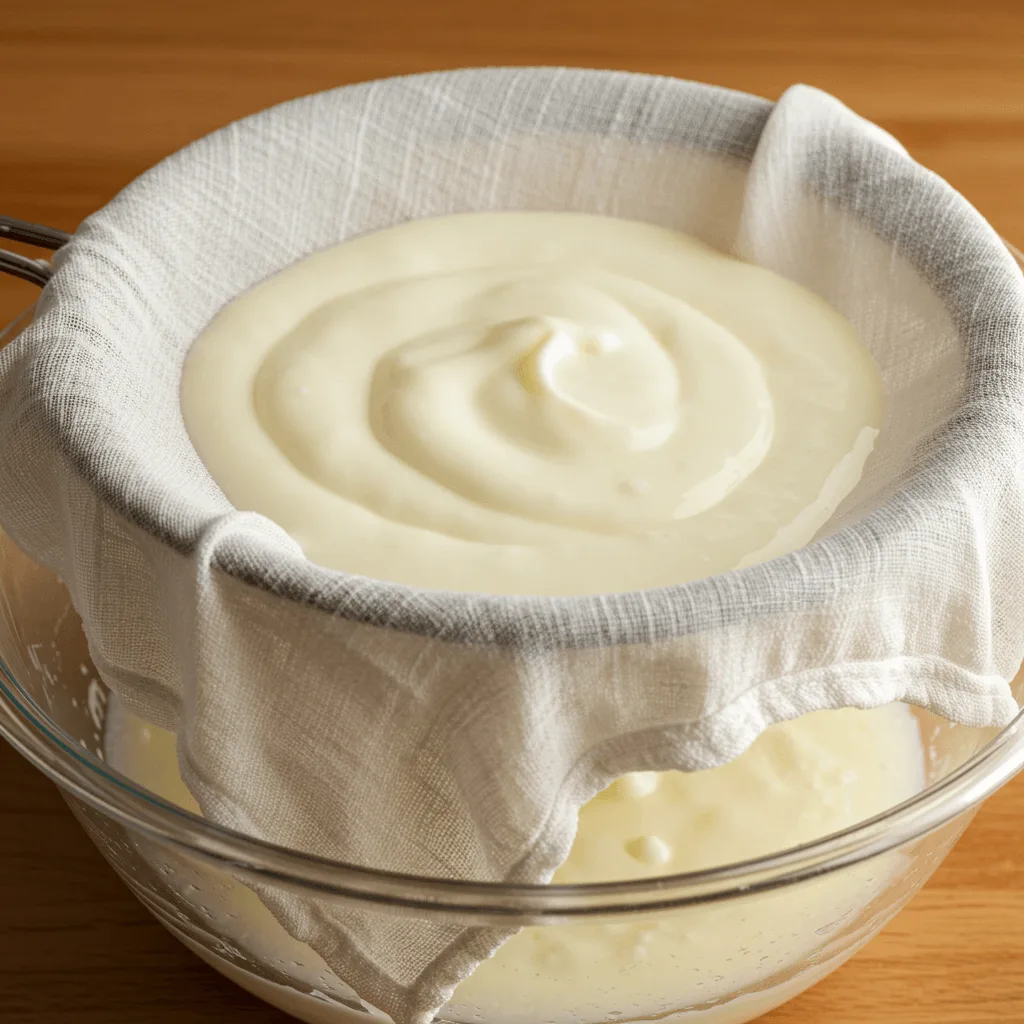
- Place a cheesecloth or nut milk bag over a fine-mesh strainer and set it over a bowl.
- Pour the yogurt into the cheesecloth and let it strain for 2-6 hours in the fridge.
- The longer you strain, the thicker the yogurt becomes. For extra-thick yogurt, gently squeeze out the whey or let it strain overnight.
💡 Tip: Save the strained whey! You can use it in smoothies, baking, or even as a protein boost in other recipes.
Once strained, transfer your homemade Chobani-style Greek yogurt into airtight jars and refrigerate for up to 7 days. Enjoy it plain, with fruit and honey, or in smoothies!
Now that your yogurt is ready, let’s explore some delicious ways to customize and flavor it just like Chobani! 😊

Flavoring & Customizing Your Homemade Chobani Greek Yogurt
Now that you’ve made thick, creamy Greek yogurt, it’s time to customize it! Whether you prefer sweetened or unsweetened, want to boost nutrition, or love Chobani’s signature flavors, here’s how to make your homemade yogurt even better.
1. Best Ways to Store Greek Yogurt for Freshness
Some people love plain, tangy Greek yogurt, while others prefer it lightly sweetened. Here are some healthy ways to enhance the flavor:
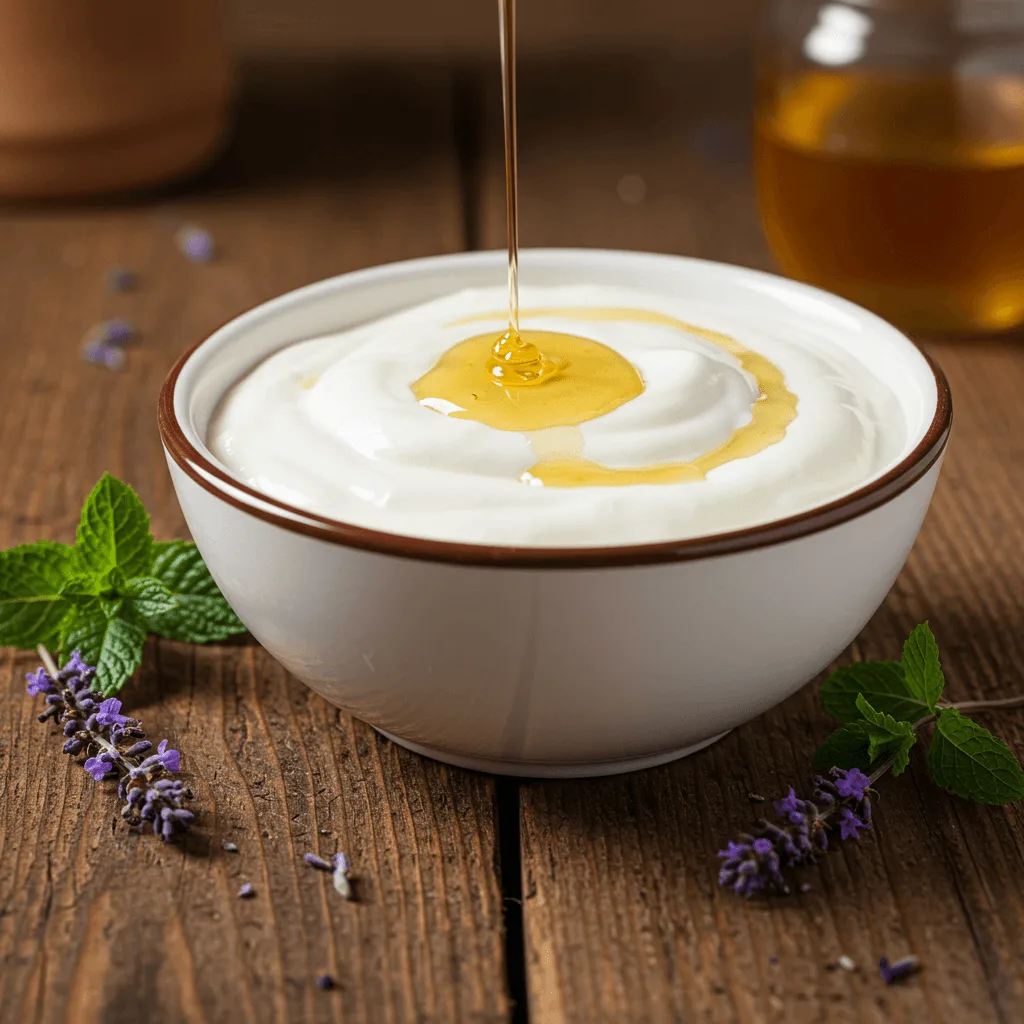
- Honey or Maple Syrup – A natural way to sweeten without refined sugar.
- Vanilla Extract – Just a few drops add a warm, aromatic flavor.
- Fresh or Blended Fruit – Stir in mashed bananas, berries, or mango for a natural sweetness.
- Cinnamon or Cocoa Powder – Great for adding depth of flavor without extra sugar.
💡 Tip: Add sweeteners AFTER fermentation to avoid interfering with the yogurt cultures.
2. How to Serve Chobani-Style Yogurt for Breakfast or Snacks
Want to turn your homemade Greek yogurt into a nutrient powerhouse? Try these mix-ins:
- Chia Seeds or Flaxseeds – Add fiber and omega-3s.
- Protein Powder – Blend with yogurt for a post-workout snack.
- Nuts & Nut Butters – Almonds, walnuts, or peanut butter for healthy fats and crunch.
- Granola or Oats – A great way to make your yogurt more filling.
💡 Tip: For an ultra-creamy texture, stir in a spoonful of almond or coconut cream!
3. Common Mistakes & Troubleshooting Homemade Greek Yogurt
If you’re looking for a non-dairy version of Greek yogurt, you can make it with:
- Coconut Milk – The best option for thick, creamy dairy-free yogurt.
- Almond or Cashew Milk – Lighter may need a thickener like agar-agar.
- Soy Milk – Ferments well and provides a high-protein, plant-based alternative.
💡 Tip: Since non-dairy milk lacks natural lactose, you’ll need a probiotic starter designed for plant-based yogurts.
4. Share Your Chobani Greek Yogurt Creations!
Want to recreate Chobani’s most popular flavors at home? Try these Chobani:
- Vanilla Copycat – Stir in ½ tsp vanilla extract + 1 tbsp honey per cup of yogurt.
- Strawberry Copycat – Blend ½ cup fresh strawberries + 1 tsp maple syrup, then mix in.
- Blueberry Copycat – Simmer ½ cup blueberries + 1 tsp honey for a jam-like swirl.
- Peach Copycat – Dice ½ cup fresh peaches + a dash of cinnamon for a sweet twist.
💡 Tip: For a fruit-on-the-bottom style yogurt, add blended fruit to jars first, then spoon in the yogurt!
Now that you have delicious homemade Greek yogurt, let’s wrap up with some final thoughts and storage tips. 😊

Making Chobani-style Greek yogurt at home is easier than you think! By using high-quality milk, live active cultures, and proper straining techniques, you can create a thick, creamy, and probiotic-rich yogurt that rivals the store-bought version. Plus, it’s more affordable, free from additives, and fully customizable to suit your taste and dietary preferences.
With this copycat recipe, you can enjoy all the benefits of homemade Greek yogurt—from its high protein content to its gut-friendly probiotics—while experimenting with different flavors and mix-ins. Whether you prefer classic vanilla, fruity variations, or dairy-free alternatives, there are endless ways to make this yogurt your own!
Now it’s your turn! Try this recipe and let us know how it turns out. Have you created any unique flavors? Do you have any tips for perfecting homemade Greek yogurt? Share your experience in the comments below! 😊🍶✨


Totally agree! It’s such a versatile and tasty option—I love adding it to my smoothies too!